从 Figma 导入
你可以将 Figma 的设计导出为 SVG 文件,并将其作为 React 组件导入到 Remotion 中,然后进行动画处理。
🌐 You can export a design from Figma as an SVG file and import it as a React component in Remotion and then animate it.
打开 Figma 设计
🌐 Open the Figma design
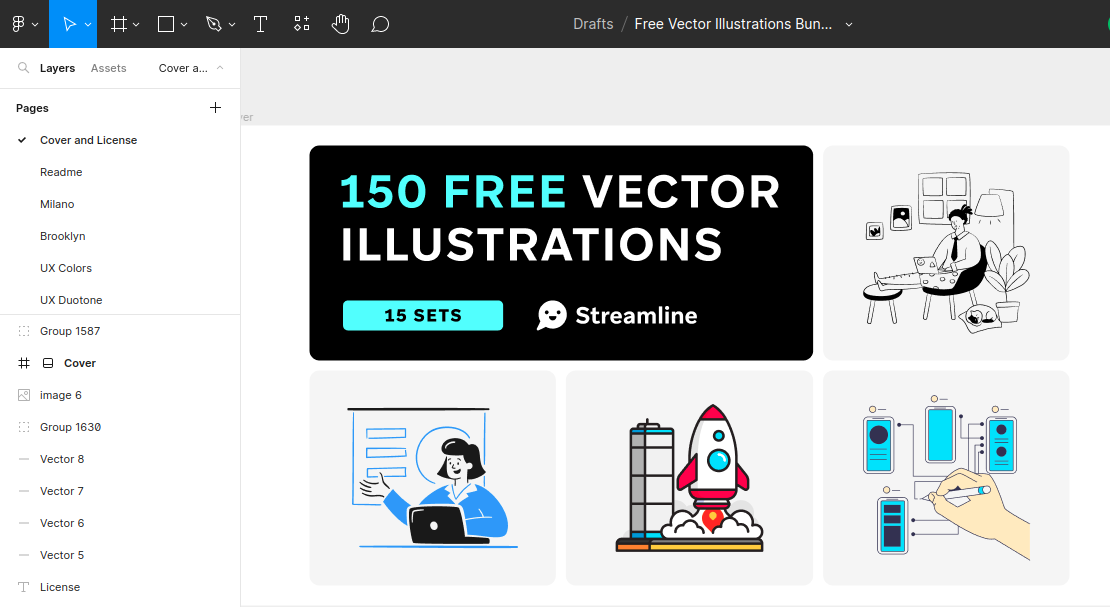
我们将使用一份Streamline 的矢量插图的副本。
🌐 We are going to use a copy of Streamline's Vector illustrations.
在 Figma 中对向量元素进行分组
🌐 Grouping vector elements in Figma
如果还没有做,将你想要导出的项目分组或在 Figma 中为它们框选。
🌐 If not already done, group the items you want to export together or frame them in Figma.

在 SVG 中,组将表示为 <g> 元素,如果你想同时动画多个项目,将它们分组可能会很有用。
🌐 Groups will be represented as <g> elements in SVG and if you want to animate multiple items together, it can be useful to group them.
导出为 SVG
🌐 Export as SVG
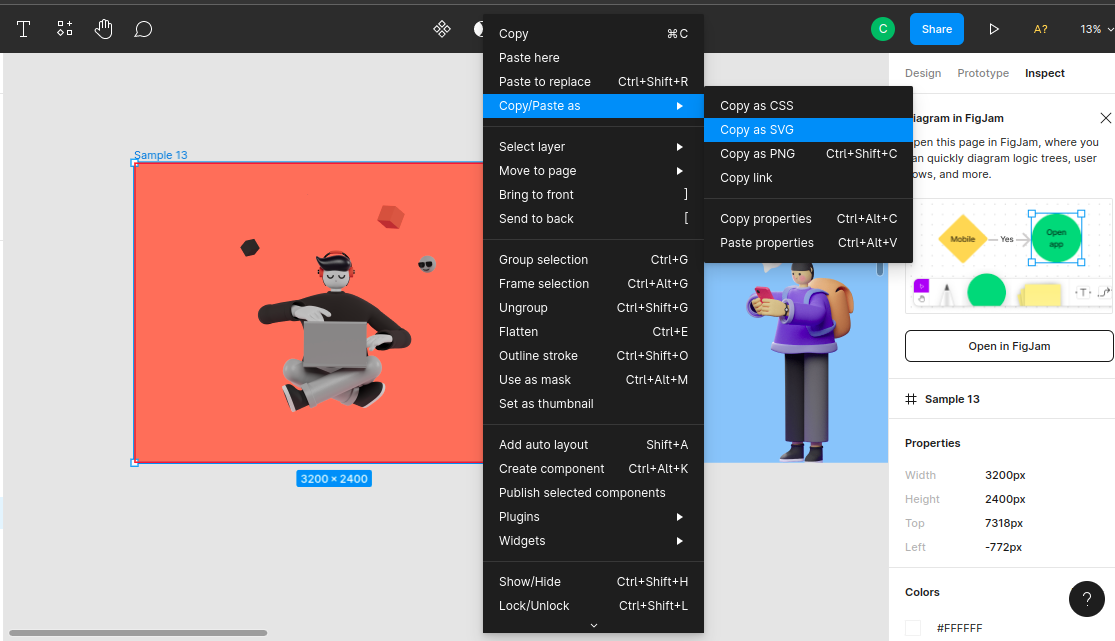
你可以通过将设计复制为 SVG 标记来导出任何设计——你可以通过右键点击设计本身并选择 复制/粘贴为 选项来实现。
🌐 You can export any design by copying it as SVG markup — you can do that by right-clicking on the design itself and selecting the Copy/Paste as option.
接下来,你需要将 SVG 转换为 React 组件。通常,你只需将 SVG 粘贴到 React 标记中,它就可以工作。
🌐 Next, you need to convert the SVG into a React component. Often, you can just paste the SVG into React markup and it will work.
或者,使用 SVGR playground 将 SVG 可靠地转换为 React 组件。
🌐 Alternatively, use the SVGR playground to reliably convert SVG into React components.
在 Remotion 中导入 SVG
🌐 Importing SVG in Remotion
将组件粘贴到 Remotion 项目中并注册一个 <Composition>。
可以在这个仓库中找到示例。
🌐 Paste the component into a Remotion project and register a <Composition>.
An example can be found in this repository.
为 SVG 标记添加动画
🌐 Animate SVG markup
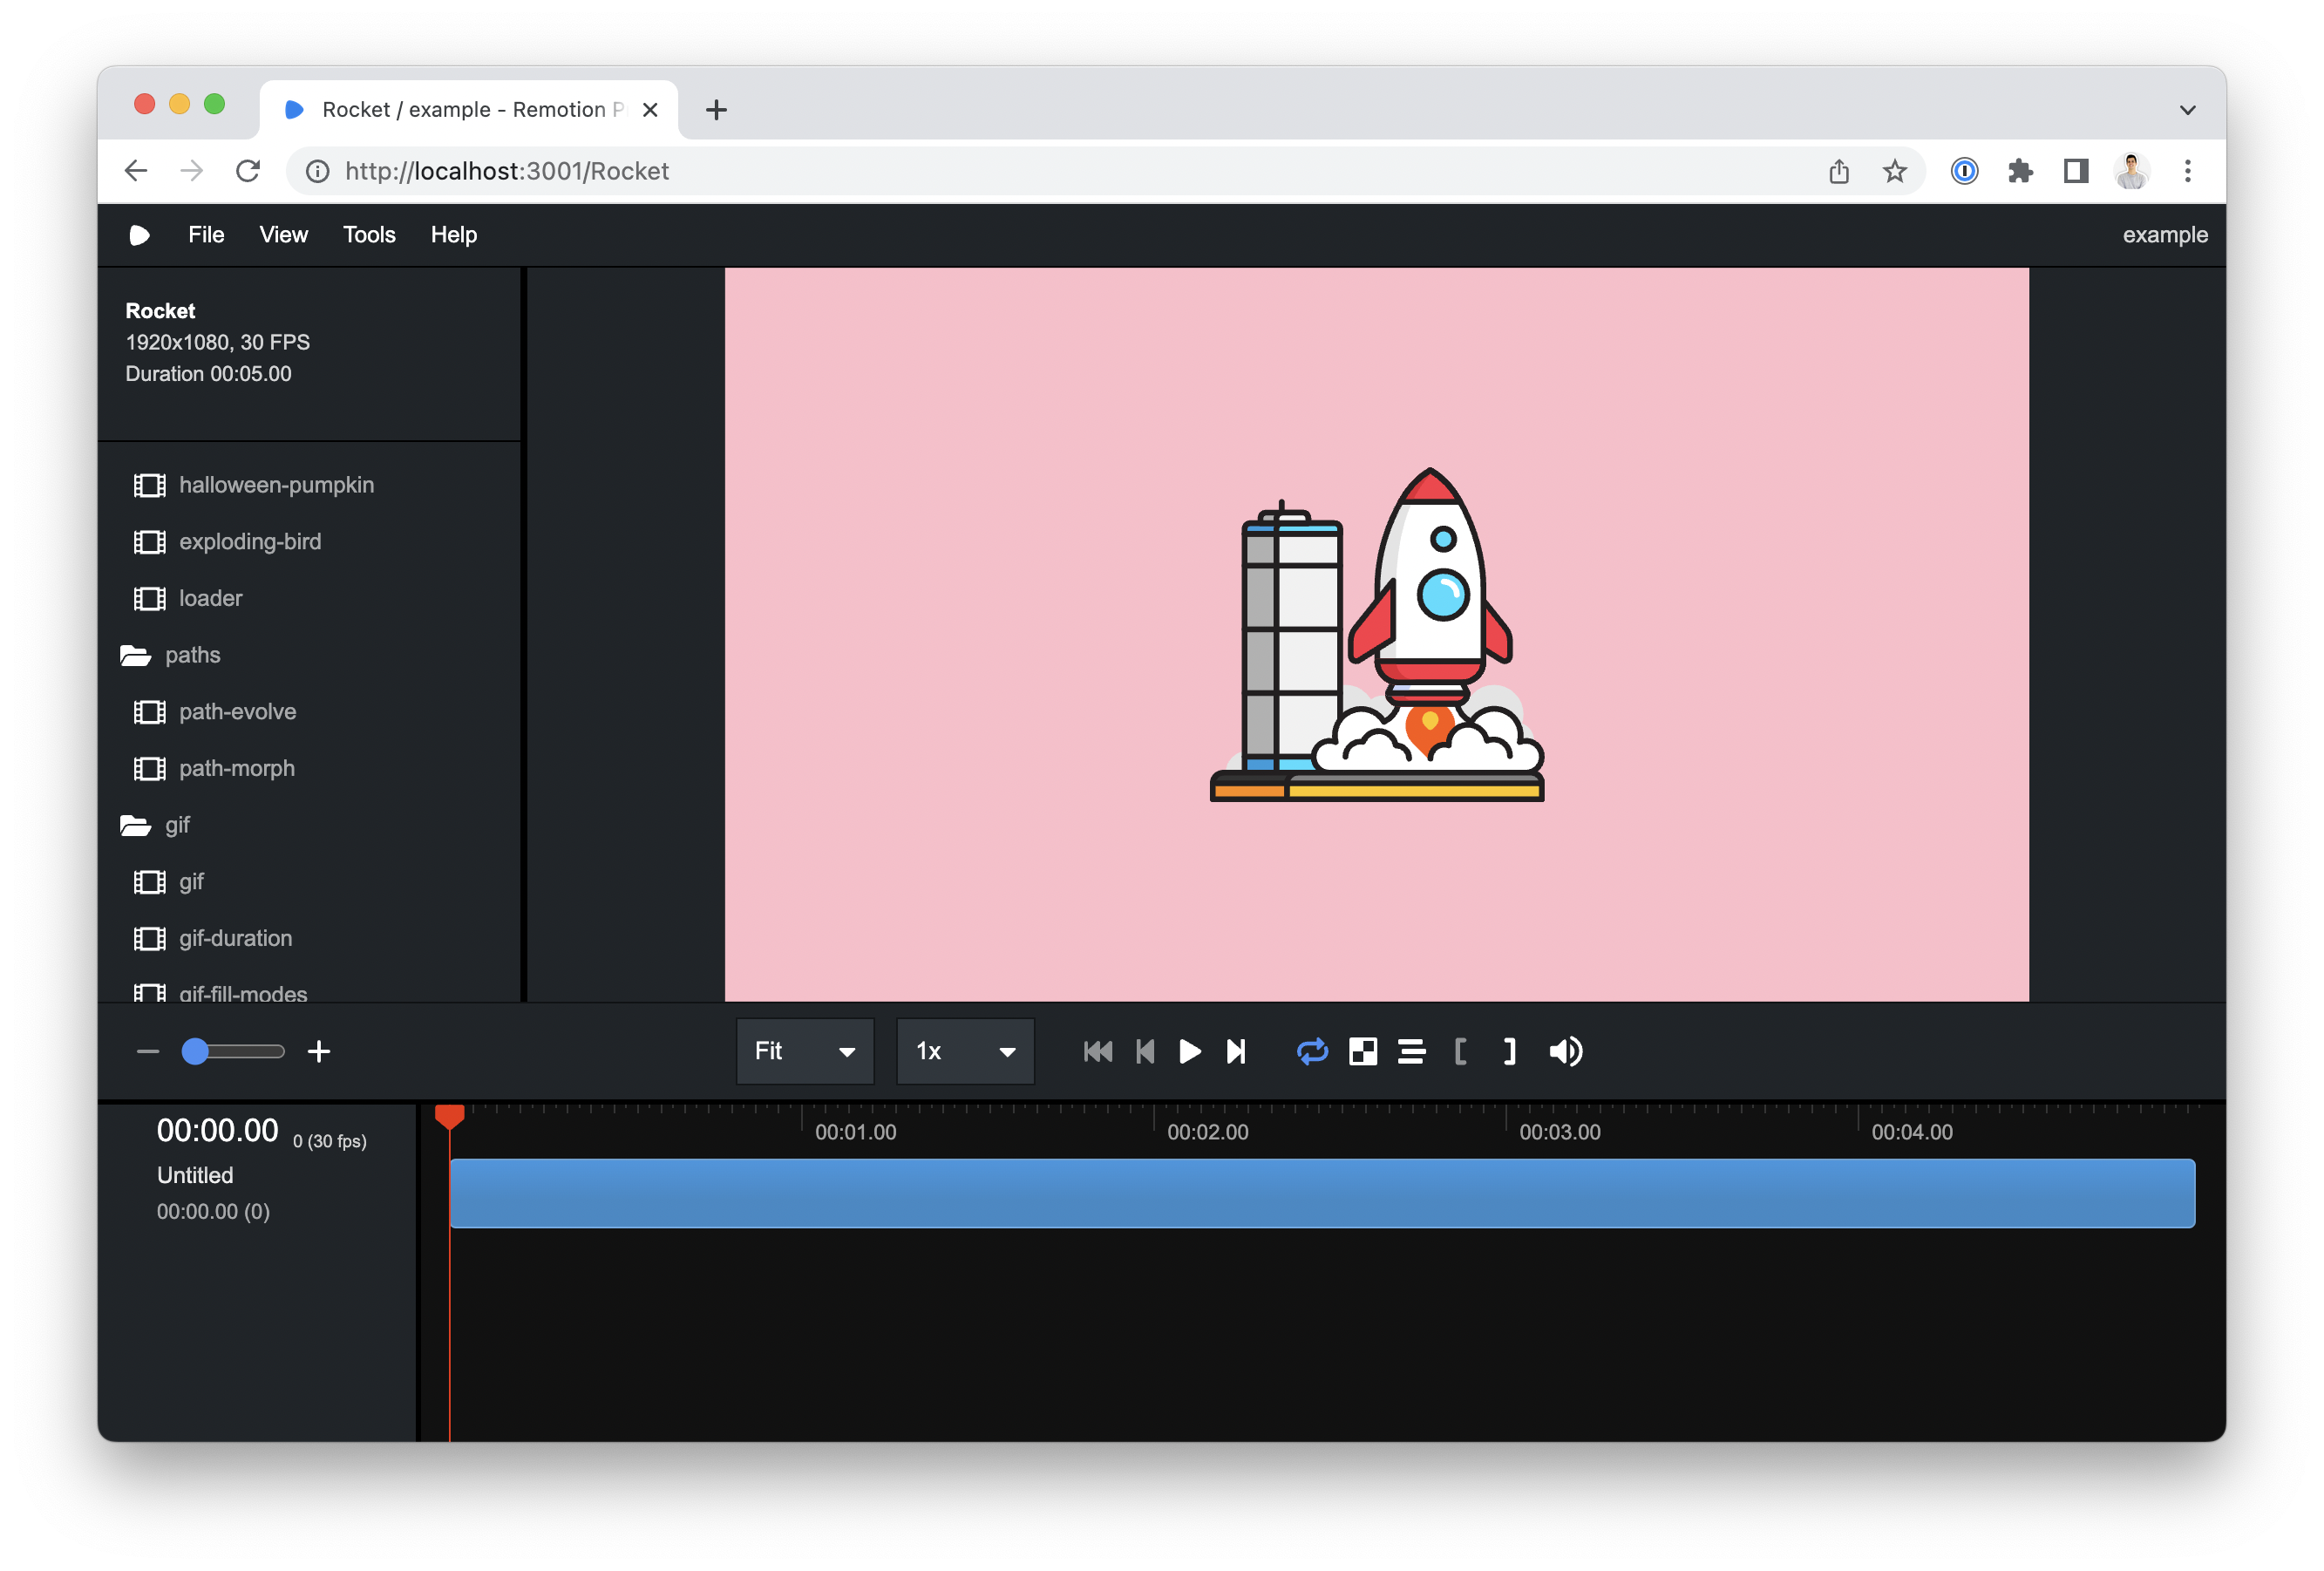
找到你想要动画化的元素,并为其添加一个样式属性。
在这种情况下,让我们对包含火箭的 <g> 元素进行动画化。
🌐 Locate the element that you want to animate and add a style property to it.
In this case, let's animate the <g> element that contains the rocket.
import { AbsoluteFill , useCurrentFrame , useVideoConfig } from "remotion";
export const Rocket : React .FC = () => {
const frame = useCurrentFrame ();
const { fps } = useVideoConfig ();
return (
<AbsoluteFill
style ={{
backgroundColor : "pink",
justifyContent : "center",
alignItems : "center",
}}
>
<svg
width ="800"
height ="800"
viewBox ="0 0 394 394"
fill ="none"
xmlns ="http://www.w3.org/2000/svg"
>
<g
id ="vehicle"
style ={{
transformOrigin : "center center",
transformBox : "fill-box",
}}
>
// vehicle's paths
</g >
</svg >
</AbsoluteFill >
);
};添加 {transformOrigin: "center center", transformBox: "fill-box"} 将确保变换的中心是它自己的中心。
🌐 Adding {transformOrigin: "center center", transformBox: "fill-box"} will ensure that the transformations center is it's own center.
让我们创建两个弹簧动画,一个用于缩放,一个用于变换:
🌐 Let's create two spring animations, one for scale and one for transformation:
const up = spring ({
fps ,
frame : frame - 20,
config : {
damping : 20,
mass : 15,
},
});
const scale = spring ({
fps ,
frame ,
config : {
stiffness : 200,
},
});
const launch = `translateY(${interpolate (up , [0, 1], [0, -3000])}px)`;scale 将从 0 变为 1,而 launch 从 0 动画到 -3000px。将样式应用到元素上:
🌐 The scale will go from 0 to 1 and launch animates from 0 to -3000px. Apply the styles to the element:
<g
id="vehicle"
style={{
transform: `scale(${scale}) ${launch}`,
transformOrigin: "center center",
transformBox: "fill-box",
}}
>
{/* ... */}
</g>
你让火箭动起来了!🚀
🌐 You have animated a rocket! 🚀
另请参阅
🌐 See also